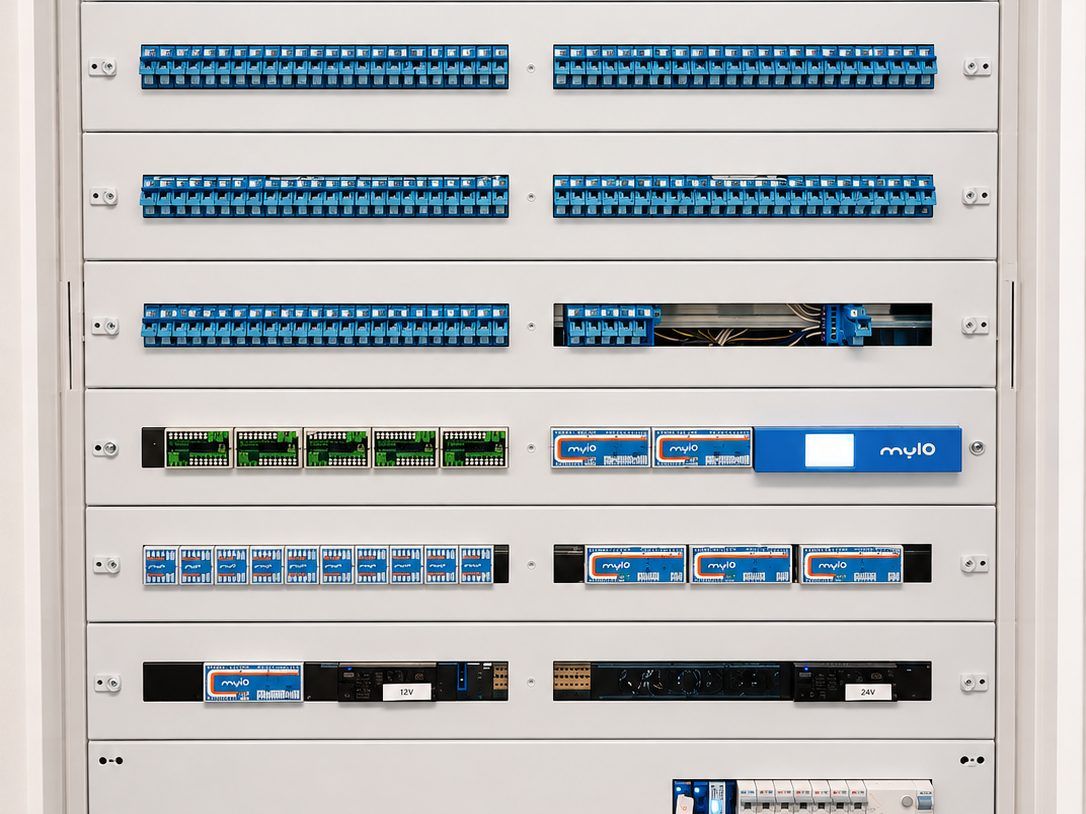
myIO is not an installation company. We develop the controller, the expansions and the software; the installation is done by an electrician. Alongside myIO you need the usual parts: push buttons, relays, terminal blocks, power supplies. They are available in any electrical wholesaler, and any electrician can do the wiring by following the documentation.
How you get your myIO
- You plan it. In the myIO Studio you draw your home and what you would like, and you see item by item which devices and software you need and what they cost. The installation fee is not included; your electrician quotes that.
- We talk it over. We go through the plan together and decide who wires it in and what help you would like from us.
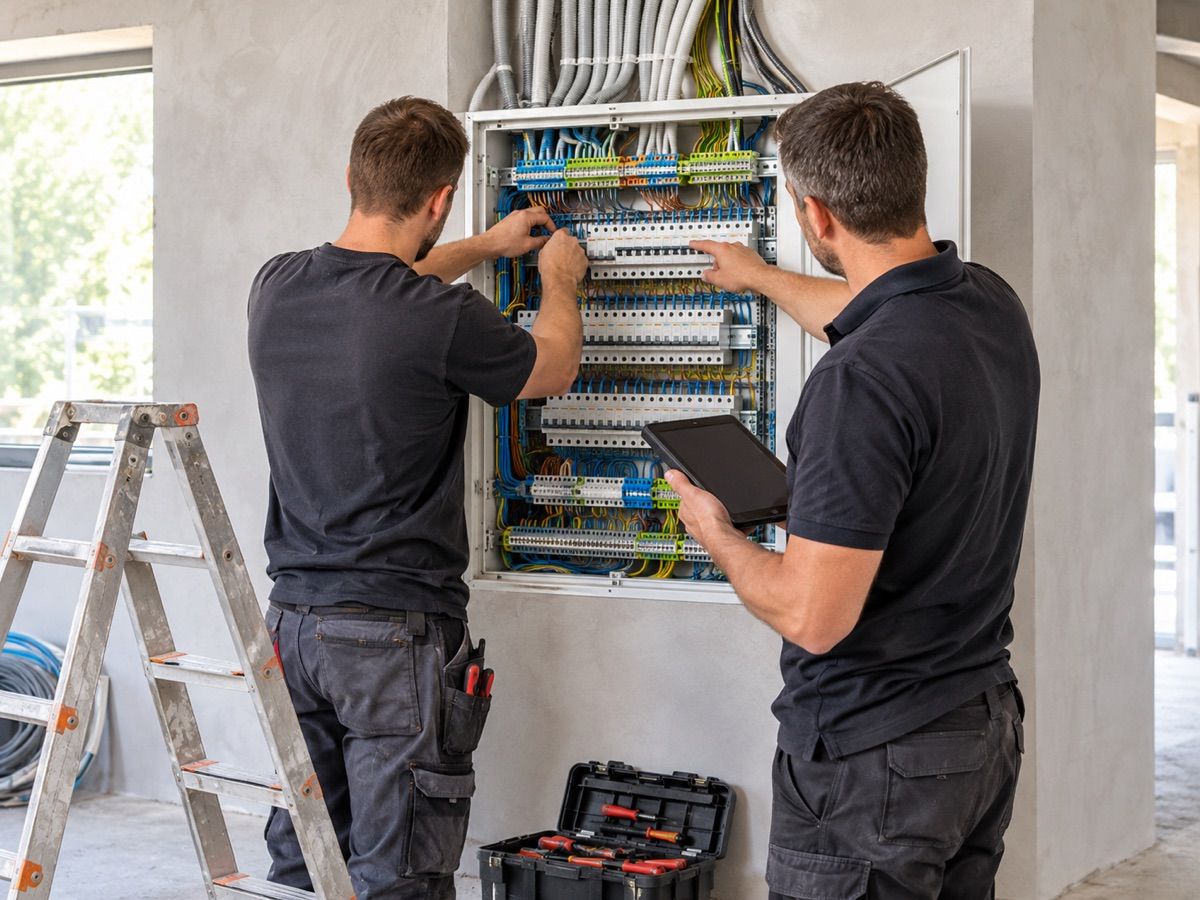
- The electrician wires it in. The wires of the switches, the lights and the other loads run to one central cabinet, where myIO sits.
- You set it up, or we do. The setup wizard guides you: you press the button on the wall, myIO recognises it, and you choose what it should switch. If you would rather not deal with it, we set it up for you.
You can extend it later: if you only want heating now, the lighting, the blinds or the solar panels can be connected to the same controller whenever you like.
Your own electrician, or one we recommend
If you have your own electrician, we train them on myIO in a free crash course: in person, or online after they have gone through the documentation. The work is familiar to them: push buttons, relays and terminal blocks in a cabinet, just with more wires than in a conventional house.
If you don’t have an electrician, write to us and we will recommend one.
As much help as you need
Some people handle everything themselves, others want it turnkey. You can choose from these, as you need:
- Pre-assembled control cabinet: we assemble the myIO cabinet in our workshop, so the electrician only has to connect the house wiring.
- On-site supervision: we come to the building site, direct and check the electricians’ work, so that the wiring is right from the start.
- On-site setup: we come out, commission and set up the system.
- Remote support: we look at your system remotely and help with the setup when you need it.
What to watch for when you build
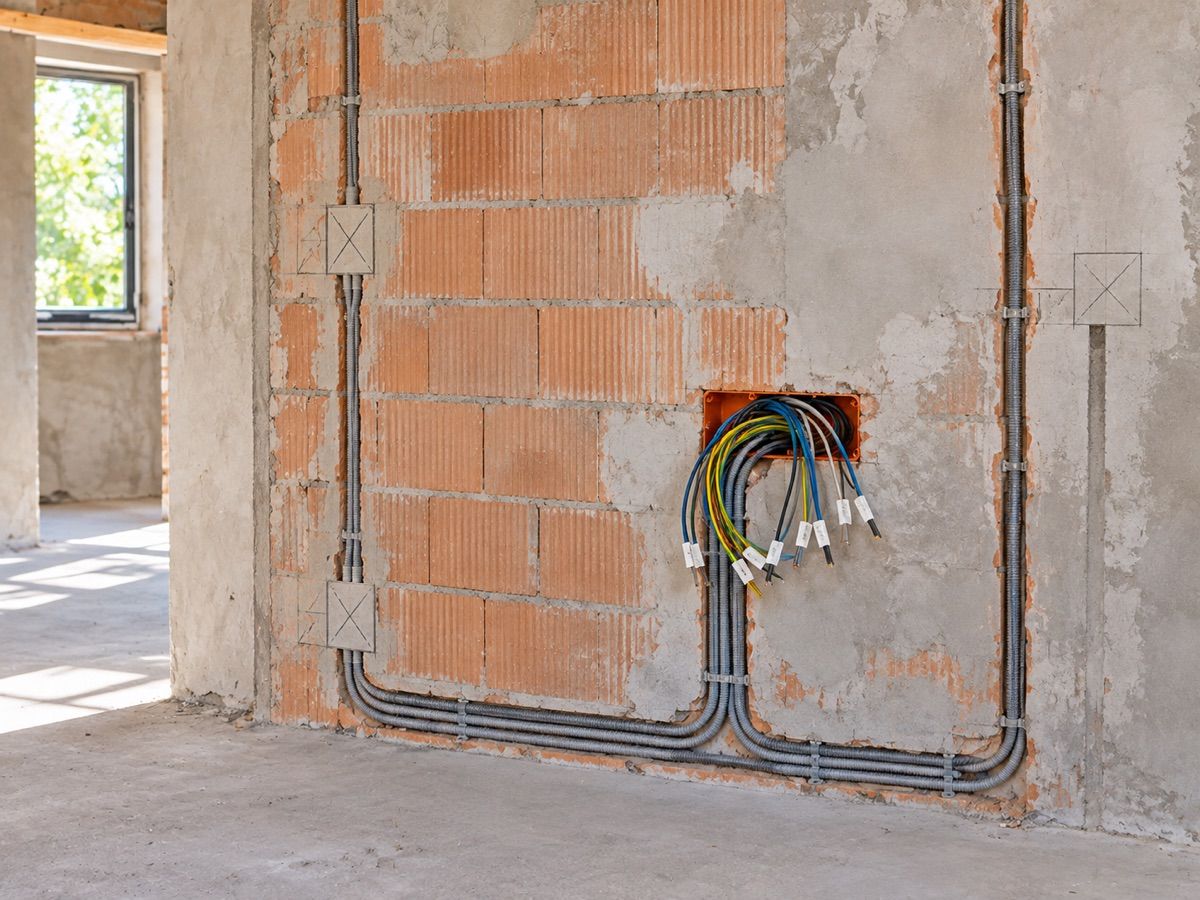
With myIO, the wires run from the switches, the lights and the other loads straight to the central cabinet. This is called star wiring. It takes a little more cable and chasing, and in return you get simpler, more reliable wiring that lasts for decades. You are not tied to any manufacturer either: if you ever decide against smart control, the electrician replaces it with conventional impulse relays, and the buttons work as before.
- Walk through the house and draw on the walls where you want switches, lights, sockets, sensors and cameras.
- Pull in everything now, even what you only need later, for example for motorised blinds. Now is when it is cheapest.
- Use shielded FTP cable for the wall buttons: it has eight cores, so an indicator light or a thermometer can be added later without a new cable.
- The thermometer fits in the switch box; it does not need a separate spot on the wall.
- Put the wall tablet’s power supply in the cabinet, not in a socket next to the wall.
- Only the controlled sockets need their own cable from the cabinet (for example the coffee machine); the rest are wired as usual.
- Label every cable at the end that arrives in the cabinet, so you always know where it goes.
Questions? Write to us
Write to info at myio dot hu, or ask for a call back: give us your phone number and when we can call you. If you already know what you want, start planning in the myIO Studio: you can send us the finished plan from there.
For professionals
- Star wiring: every push button, sensor and controlled load arrives in the central cabinet on its own cable. The inputs are NO/NC contacts (push button, door/window, motion, smoke sensor); several door/window or motion sensors can be wired in series to one input, but wiring them one by one gives more flexibility later.
- Push buttons on shielded FTP (8 cores). With the shield connected it can share a conduit with mains wiring, but running low voltage separately is recommended. Door/window and motion sensors are fine with ordinary cable.
- Thermometers: on a data bus, over FTP; run their supply on one twisted pair. They fit in the push button’s wall box.
- Outputs: relays in the cabinet, on separate relay rows. The electrician chooses the cable cross-section according to the load’s current. The outputs can be replaced at any time with conventional impulse relays: the wiring does not tie you to a manufacturer.
- The controller and the expansions mount on DIN rail. The service display (on the controller for V3 and V4 GIGA, on the Expander 16 for V4 Opta) helps with commissioning and shows the controller’s IP address. Default address without automatic addressing (DHCP): 192.168.1.170; in WiFi access point mode (V4 GIGA, V4 Opta): 192.168.3.1.
- Setup on the controller’s web interface, with the setup wizard; no programming needed. Software updates arrive over the network.
- Free crash course for electricians: in person, or online after going through the documentation. Pre-assembled cabinet, on-site supervision, on-site setup and remote support as needed.